
brushes
How to Clean Your Hair Brushes and Hot Tools, and Why It Changes How They Work
Nobody buys a brush planning to clean it. It lives in a drawer, collects a felt mat of shed hair, and keeps getting used anyway. Then one day it drags instead of glides, or the dryer takes longer than it used to, and the tool gets blamed. This is the unglamorous half of tool ownership, and it is the half that quietly decides how well the expensive half performs. Here is how to clean your hair brushes and your hot tools properly, what each material will and will not tolerate, and which of the usual claims about all this are actually measured.
We have already covered which brush to own in how to choose a hair brush for your hair type, and that piece answers the basic weekly de-hairing and monthly wash in a couple of lines. This is the longer version: what accumulates, what it changes, and how the method differs between timber, boar bristle, moulded plant starch, a dryer filter and a set of heated plates. They are not interchangeable, and the wrong method will shorten the life of a good tool faster than neglect will.
What actually builds up, and what it does
Four things collect on a brush, and they behave differently.
Shed hair is the obvious one. You lose somewhere in the range of fifty to a hundred hairs a day as a normal part of the growth cycle, and a fair proportion of them end up wrapped around the base of the bristles rather than on the floor. As that mat thickens it lifts the working surface of the brush. The bristles effectively get shorter, the cushion cannot flex the way it was designed to, and the brush starts pulling at the mid-lengths instead of passing through them.
Sebum is the scalp oil that transfers onto bristles every time you brush from the root. On its own it is not a problem. It is the carrier for everything else.
Product is the part most people underestimate. Dry shampoo is largely starch or silica, mousse and setting sprays are film formers, and finishing oils and silicones are designed to cling. All of it comes off the hair and onto the bristles, and it does not evaporate. It builds into a tacky grey film that you can feel with a fingernail.
Dust and bathroom lint then stick to that film, which is why a neglected brush looks furry rather than merely hairy.
Here is the honest part. The mechanical effect is real and easy to verify on your own brush: strip a loaded brush back and the bristle length and cushion travel you get back are obvious in the hand. The claim you will read everywhere, that a dirty brush puts meaningful amounts of old product back onto freshly washed hair, is plausible and is what stylists observe, but we could not find any published measurement of how much actually transfers. Treat it as a good reason to keep tools clean, not as a quantified one. The reasons that hold up without measurement are performance, hygiene when tools are shared, and the lifespan of the tool.
How to clean your hair brushes, step by step
The whole job takes about ten minutes and needs nothing you do not already own.
One. Lift the hair out. Slide the pointed end of a tail comb or a crochet hook under the mat, parallel to the bristles, and lift rather than pull. Working from one edge is easier than attacking the middle. Do this weekly and it never becomes a job.
Two. Comb the bristles. Run a fine comb through the bristles a few times to break up the film and bring the fluff to the surface, then pick it off.
Three. Wash, if the material allows it. A basin of warm, not hot, water with a single drop of shampoo. Swirl the bristles only. Work the film off with your fingertips or an old toothbrush. Thirty seconds of contact is plenty.
Four. Rinse the bristles under the tap, keeping the base and handle out of the stream as much as you can.
Five. Dry it bristles down on a towel, somewhere with air movement, and leave it overnight. This is the step people skip and it matters more than the wash. Water that sits inside a cushion pad or against a timber base is what eventually lifts glue, swells wood and grows mould in the pad. Bristles down lets it drain out the way it went in.
Two things never to do: no boiling water, which softens the adhesive holding bristles into the pad, and nothing abrasive on a coated barrel.
Timber, boar bristle and plant starch all need different handling
This is where the generic advice falls over, because the brushes in a normal bathroom are made of quite different things.
Timber. A wooden brush should never be soaked or left wet. Wood swells and then dries unevenly, which loosens bristle tufts and can split a lacquer finish. Our Unwritten On-the-go Styling Brush is made from FSC certified timber, and the method for it is a damp cloth over the wood, a quick rinse of the bristle tips only, and a long dry. Never a soak, and never a dishwasher.
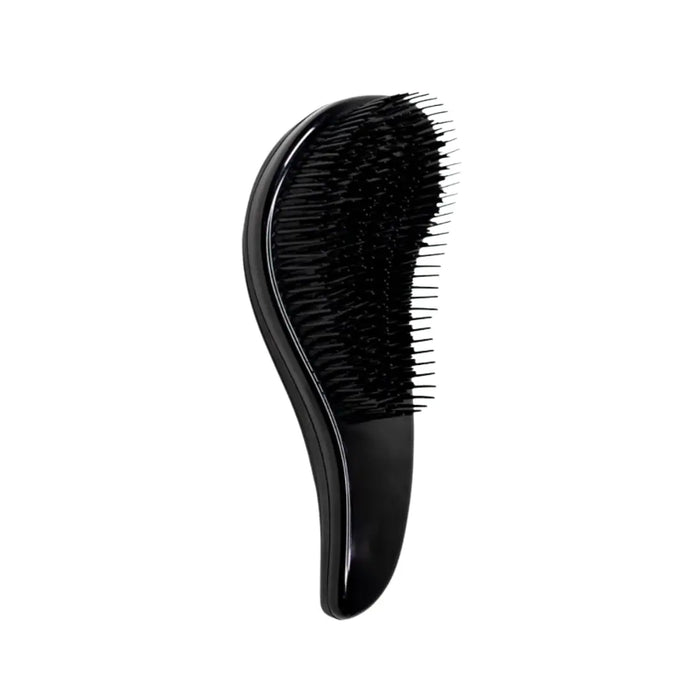
Boar bristle, usually mixed with nylon. Boar bristle is keratin, the same protein your hair is made of, so it responds to water and heat the way hair does. Wash it in warm water with a drop of shampoo, rinse well, and dry it away from a radiator or a heat vent. The Wilde Pure Bristle and Nylon Mix Brush pairs boar tufts with nylon pins on a cushioned base, which means two cautions at once: the bristles want gentle washing, and the cushion must not be allowed to hold water. Bristles down, overnight.
Moulded plant starch. Newer eco brushes are not plastic. The Evy Eco Detangling Brush is moulded from compressed maize and cassava starch, which is the point of it and also the reason to be careful. A material designed to biodegrade should be treated more like timber than like nylon: wipe it, rinse briefly, never leave it standing in water, and dry it fully before it goes back in the drawer. We are reasoning from the material here rather than quoting a test, so if the manufacturer's care card says something different, follow the card.
Thermal barrel brushes. A carbon or ceramic barrel brush used inside a blow dry gets hot, and anything on it at the time bakes on. Wipe the barrel while it is still faintly warm and the residue lifts with a damp cloth. Leave it for a month and you will be scrubbing, which is exactly what a coated barrel cannot take.
If you are replacing rather than reviving, the full range sits in tools and accessories.
The dryer filter is the five minutes with the biggest payoff
Every dryer pulls air in through a rear intake, and almost every one has a filter there. Lint, dust and fine hair build into a felt pad across it, and because it sits at the back you never look at it.
The mechanism is worth understanding because it explains a complaint people usually blame on the motor. A heating element adds a roughly fixed amount of heat to whatever air passes over it. Restrict the intake and less air passes, so the same heat goes into a smaller volume. You get less air, and that air is hotter. The dry takes longer at a higher temperature, which is the opposite of what anyone wants, and on many dryers the thermal cutout starts tripping, so the tool stutters between hot and cold. Manufacturers generally advise clearing the filter about monthly, and that lines up with what stylists see.
On a dryer like the Evy The Boss Dryer, rated at 2400 watts, the filter either twists off or lifts away at the rear. Pull the pad of lint off with your fingers, rinse a removable mesh filter under the tap, and let it dry completely before it goes back on. Do not run the dryer with the filter off, because the filter is what stops hair reaching the impeller.
Worth being straight about: neither we nor the brands publish airflow figures, so nobody can tell you how many grams per second a clogged filter costs you. What the airflow actually buys you is covered in how to dry your hair faster without using more heat. The filter is simply the cheapest way to keep whatever airflow you paid for.
Plates and barrels: residue changes how a hot tool feels
Heat protectant, oil and setting spray all leave something behind on a plate, and heat polymerises it into a brown varnish. You notice it as drag. A clean plate slides; a glazed one grabs, and the pass you have to repeat is the one that does the damage.
The method is unremarkable and the order matters. Unplug the tool. Wait until it is completely cool, which takes longer than you think. Wipe the plates with a damp cloth. For residue that has properly baked on, a little isopropyl alcohol on a cloth is the standard salon fix, but check your own manufacturer's guidance first, because plate coatings vary and some warn against solvents. Never anything abrasive, never steel wool, never a scouring cream. Never submerge an electrical tool, and never put liquid anywhere near the hinge or the cord entry.
An Evy E-styler has extra long plates, which is what makes it quick through a long head of hair, and also means there is more surface for residue to sit on. Wipe it after a couple of uses rather than at the end of the season. The same goes for a curling wand, where the build-up collects at the tip you keep touching.
How often, honestly
You do not need a spreadsheet. Three habits cover it.
Weekly: lift the shed hair out of every brush you actually use. Ninety seconds.
Monthly: wash the brushes the material allows, and clear the dryer filter.
After every second or third use: wipe plates, barrels and thermal brushes while they are still slightly warm. This is the one that saves the most work.
If you use dry shampoo, styling paste or a finishing oil daily, halve the monthly interval. Starch and silicone load bristles faster than anything else. If you are choosing between products with that in mind, the styling range is the place to browse.
When to stop cleaning it and replace it
Cleaning cannot fix everything, and a brush that has failed structurally is doing harm every time you use it.
Replace a brush when bristles are missing in patches, because the remaining ones take the whole load and concentrate it. Replace it when ball tips have come off and left bare wire or bare plastic ends, which is the single most common cause of brush related mid-length damage. Replace it when the cushion has gone hard or stopped rebounding, when the base is split or smells musty inside, or when a barrel's coating is flaking. For hot tools, a frayed cord, a cracked casing or plates that no longer meet flush are replacement triggers, not cleaning problems, and a damaged cord is an electrical hazard rather than a styling one.
A note on hygiene, and when to ask someone
Tools are a documented route of transmission for scalp infections, but the evidence concerns shared tools, and mostly in salon and barbering settings, where studies have recovered fungal material from combs, brushes and clippers. That is why professional tools are disinfected between clients and why your own brush is not something to lend, or to borrow, or to share around a household. For a brush that only ever touches one head, ordinary cleaning is about performance rather than infection control.
Nothing in this article treats or prevents a scalp condition, and a clean brush is not a treatment. If your scalp is persistently itchy, sore, flaking in patches, or if you are seeing patchy hair loss, scaling that does not settle, or broken hairs in defined areas, that warrants a GP or a dermatologist rather than a new brush. Our stylists are happy to look at your hair and tools and tell you honestly which of the two is the problem, and you can find them through our pros.
Frequently Asked Questions
How often should I clean my hairbrush?
Lift the shed hair out weekly and wash the bristles about monthly, or fortnightly if you use dry shampoo, oils or styling paste most days. Wipe thermal brushes and hot tool plates every second or third use, while they are still faintly warm.
Can I put a hairbrush in the dishwasher?
No. The combination of heat, detergent and a long wet cycle softens the adhesive holding bristles into the pad, swells timber and can distort moulded bodies. Warm water and a drop of shampoo does the same job without the damage.
What should I use to clean a hairbrush?
A drop of shampoo in warm water, your fingertips or an old toothbrush, and a tail comb or crochet hook for the hair mat. You do not need a dedicated brush cleaner, bicarbonate soda or vinegar, and nothing abrasive should go anywhere near a coated barrel.
Does a dirty dryer filter really make drying slower?
Yes, and hotter at the same time, because restricting the intake means the same heat goes into less air. The size of the effect is not something we can quantify for you, since airflow figures are not published for most dryers, but the direction is not in question and clearing the filter is free.
How do I get baked on residue off straightener plates?
Unplug it, let it cool completely, then wipe with a damp cloth. For a varnish that will not shift, a little isopropyl alcohol on a cloth is the usual fix, subject to your manufacturer's guidance, because some coatings do not tolerate solvents. Never soak the tool and never use an abrasive.
Is it worth cleaning a cheap brush or should I just replace it?
If the bristles and cushion are intact, clean it. If bristles are missing in patches or the ball tips have worn off, replace it regardless of price, because that brush is now causing breakage. A good brush that is cleaned properly will outlast several neglected cheap ones.
Can sharing a hairbrush spread anything?
Shared tools are the documented route for scalp fungal infections and for head lice, which is why salons disinfect between clients. Keep your brushes to yourself, and if a household member is being treated for a scalp condition, keep their tools separate and follow the advice of whoever is treating them.